Chocolate Cake Recipe: Moist Two-Layer, Mixed in One Bowl
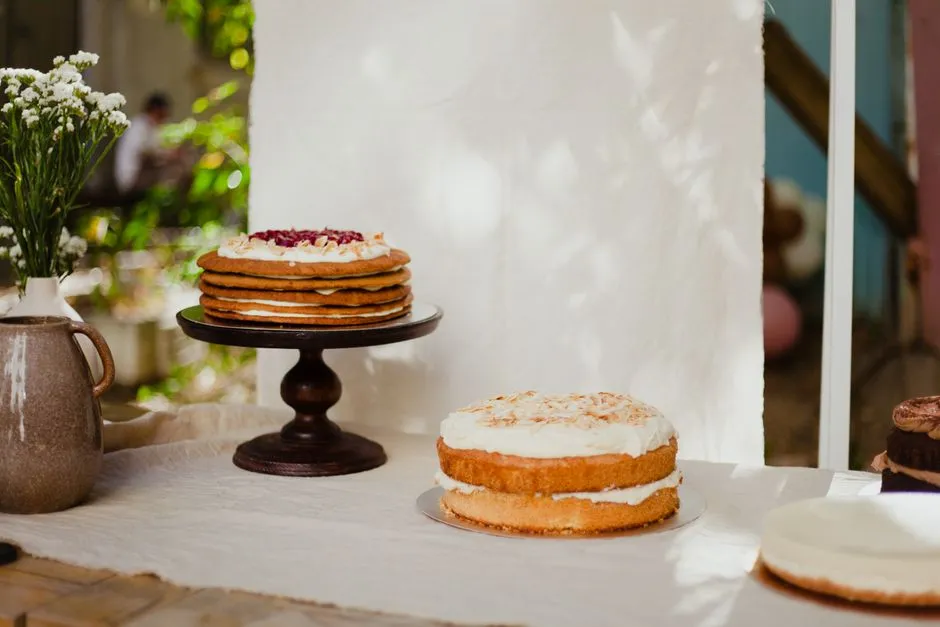
A moist chocolate cake with one-bowl batter
This chocolate cake uses natural cocoa, buttermilk, neutral oil, and hot coffee for two soft layers with no creaming step. Whisk the dry ingredients, add the eggs and liquids, stream in the coffee, and divide the about 1,413 g of batter between two 9-inch pans. The batter is intentionally thin and should pour roughly like heavy cream.
The cake itself needs no mixer; the chocolate buttercream does. Gram weights are authoritative. Volume measures are included for convenience, but flour and cocoa can pack very differently into a cup.
Ingredients
Chocolate cake
| Ingredient | Weight | Approximate volume |
|---|---|---|
| All-purpose flour | 220 g | 1 3/4 cups, spooned and leveled |
| Granulated sugar | 400 g | 2 cups |
| Natural cocoa powder | 75 g | Scant 1 cup |
| Baking soda | 10 g | 2 teaspoons |
| Baking powder | 4 g | 1 teaspoon |
| Fine salt | 6 g | 1 teaspoon |
| Large eggs, out briefly to remove the chill | 100 g | 2 large eggs without shells |
| Buttermilk | 240 g | 1 cup |
| Neutral oil | 110 g | 1/2 cup |
| Vanilla extract | 8 g | 2 teaspoons |
| Hot brewed coffee or hot water | 240 g | 1 cup |
Use natural cocoa in this formula. Dutch-process cocoa has different acidity, and this cake's baking soda and buttermilk were balanced around natural cocoa. A substitution may change rise, color, and flavor. Use the listed cocoa for predictable rise, color, and flavor.
Hot water works in place of coffee with no change in liquid weight. Regular or decaffeinated coffee adds a roasted note; concentrated espresso must still be diluted to a total of 240 g.
Chocolate buttercream
| Ingredient | Weight | Approximate volume |
|---|---|---|
| Unsalted butter, softened but not greasy | 340 g | 1 1/2 cups |
| Powdered sugar | 480 g | About 4 cups |
| Natural cocoa powder | 85 g | About 1 cup |
| Heavy cream, cold | 90 g | 6 tablespoons |
| Vanilla extract | 8 g | 2 teaspoons |
| Fine salt | 1.5 g | 1/4 teaspoon |
The listed ingredients total about 1,005 g of buttercream, enough for a filling, crumb coat, and full outer coat. The cake contains wheat, eggs, and dairy as written and yields about 12 to 16 servings.
Equipment and pan plan
You need a large bowl, whisk, flexible spatula, scale, parchment, cooling racks, mixer for the frosting, and two 9-inch (23 cm) round pans about 2 inches deep.
Two 8-inch (20 cm) pans can hold the batch if they are adequately deep, but the batter sits deeper and needs a later doneness check. A 9-by-13-inch pan also works. Do not rely on a pan label alone: set an empty pan on the scale, tare, and weigh the batter into it. Keep the batter at or below about two-thirds of the pan's usable depth. Put any excess in another prepared pan.
| Format | Batter allocation | Expected bake range | Begin checking |
|---|---|---|---|
| Two 9-inch rounds | About 706 g each | 28–32 minutes | 28 minutes |
| Two 8-inch rounds | About 706 g each | 35–40 minutes | 34 minutes |
| One 9-by-13-inch pan | Full batch | 32–38 minutes | 32 minutes |
| 24 standard cupcakes | About 59 g each | 18–21 minutes | 18 minutes |
These are check times and working ranges, not guarantees. Two 9-inch rounds provide about 127 square inches of base area, a 9-by-13-inch pan provides 117 square inches, and two 8-inch rounds provide about 101 square inches. Less base area makes deeper batter, which usually needs longer. Pan material, true oven temperature, depth, and starting ingredient temperature also change the finish.
Make the cake
1. Prepare the oven and pans
Heat the oven to 350°F (175°C) with a rack near the center. Grease the pans, line their bottoms with parchment rounds, and grease the parchment. If your pans are dark, very thin, or unfamiliar, monitor the edges closely and begin checking at the listed early time.
Keep refrigerated eggs chilled until shortly before mixing. To remove their chill quickly, place the uncracked eggs in warm—not hot—water while the oven heats. Do not leave the eggs out longer than the preparation requires.
2. Whisk the dry ingredients
In the large bowl, whisk flour, sugar, natural cocoa, baking soda, baking powder, and salt until the color looks uniform and no cocoa pockets remain. Whisk for 30 seconds, breaking stubborn cocoa lumps against the side of the bowl or sifting them. As a practical reference, lightly spooned cocoa can be near 85 g per cup while firmly packed cocoa can weigh about 20 g more, so use the 75 g scale measurement here.
Do not taste the mixture or later batter. The FDA says flour is a raw food and explains that raw flour and eggs may carry harmful bacteria. Keep flour dust and raw batter away from ready-to-eat food, then wash hands, bowl rims, tools, and work surfaces with warm soapy water after mixing.
3. Add eggs, buttermilk, oil, and vanilla
Add the eggs, buttermilk, oil, and vanilla. Whisk for about 1 minute, just until the batter is smooth, scraping the base and sides of the bowl. There is no butter foam to build, so longer beating does not improve the cake's structure.
4. Add the hot coffee slowly
Pour the coffee or water in a thin stream while whisking. Keep the bowl stable and pour close to its surface to prevent splashes. The batter should become fluid and glossy. If you are unsure about the formula, verify every weight now; adding extra flour later to “correct” its appearance will dry the cake.
5. Divide and bake
Weigh the batter into the prepared pans. For two rounds, aim for about 706 g per pan and divide the batter as evenly as practical.
Bake two 9-inch layers and begin checking at 28 minutes. Avoid opening the oven early, which releases heat before the center has set. A finished layer gives several cues:
- the center springs back after a gentle fingertip press;
- a thin tester shows moist crumbs, not shiny liquid batter;
- the surface no longer ripples when the pan moves;
- the edges may just begin to pull from the pan.
Do not use one thermometer number as the sole verdict. King Arthur Baking reports that cake formulas can finish across 200–210°F (93–99°C) and recommends combining cues. Use temperature alongside the tester, spring-back, surface, and edges.
6. Cool fully
Cool the layers in their pans for 15 minutes. Run a thin blunt knife around any stuck edge, invert onto racks, remove parchment, and turn right-side up. Cool until no warmth remains in the center—usually at least 90 minutes, often longer. Frosting a warm cake can soften the buttercream and shift the top layer.
Make the chocolate buttercream
- The butter should be about 19–20°C (66–68°F): it should dent under a finger without looking greasy. Beat it on medium speed until creamy and a little lighter, about 2 minutes.
- Sift the powdered sugar and cocoa together; dry lumps have no hot liquid to dissolve them.
- Add the dry mixture in several additions on low speed. Stop and scrape between additions to keep the powder in the bowl.
- Add the cream, vanilla, and salt. Beat on medium for 2–3 minutes, until smooth and spreadable. Avoid prolonged high-speed beating if you want fewer air bubbles in the final coat.
- Adjust cautiously: add cream by the teaspoon if too stiff. If glossy and slack because the butter is warm, chill for 10 minutes and beat again before adding more sugar.
Set one layer on a board. Spread about one-quarter of the buttercream over it, top with the second layer, and apply a thin crumb coat. Chill for about 20 minutes, until the surface firms, then finish with the remaining frosting.
A stage-by-stage reliability check
Check the process at four moments so a failed cake does not become a guessing exercise.
After dry mixing: the blend should be one even cocoa color. Pale streaks can mean flour or leavener is not distributed.
After wet ingredients: scrape the bottom. A hidden dry shelf here becomes bitter pockets later.
After coffee: the batter should pour in a ribbon and settle quickly. Verify weights rather than judging against a thick butter-cake batter.
At the oven: compare both pans. If one rises or colors much faster, rotate only after the structure has set and note the oven's hot zone for next time.
This stage-by-stage record is more useful than assigning every cake failure to one cause.
Troubleshooting without invented certainty
The center sank
Common possibilities include an under-set center, inaccurate oven temperature, too much leavener, or batter depth beyond the tested pan plan. Check your scale entries and oven thermometer. A door opened early can also cool a fragile center. One sunken cake cannot identify the cause by itself; use the timeline and cues.
The cake is dry
Check flour and cocoa weights first, then bake time and pan size. A smaller or darker pan can set edges sooner. Next time begin checking earlier and remove the cake when multiple doneness cues agree.
The layers are uneven
Weigh batter instead of estimating by height. Confirm both pans have the same diameter and construction and sit on the same rack. Oven hot spots can still color one side faster; record what happened before changing the formula.
The buttercream is grainy or soft
Graininess usually points to unsifted dry ingredients or incompletely incorporated sugar. Soft frosting usually means warm butter or too much liquid. Cool it for 10 minutes before adding more sugar, then beat again and reassess the consistency.
Storage and food safety
Do not assume this butter-and-cream frosting is room-temperature safe solely because it contains powdered sugar. That conclusion requires a validated formula or water-activity evidence; it cannot be inferred from the ingredient list.
Follow the site's conservative dairy rule instead:
- Refrigerate the frosted cake within 2 hours, or within 1 hour above 90°F (32°C).
- Keep the refrigerator at 40°F (4°C) or below.
- Store covered and use within 3 to 4 days.
- Bring out only the cake or slices you plan to serve, and count total room-temperature time.
- Discard perishable cake that has exceeded the limit; smell and appearance cannot prove safety.
Cool unfrosted layers completely before wrapping. Refrigerate for near-term assembly or freeze well wrapped for longer storage; thaw while wrapped. Cream cheese frosting, whipped cream, custard, curd, mascarpone, and fresh-fruit fillings also require refrigeration. Our classic cheesecake has the stricter custard workflow.
Useful variations that preserve the formula
- Hot-water cake: replace coffee with 240 g hot water.
- Sheet cake: bake the full batch in one prepared 9-by-13-inch pan and begin checking at 32 minutes.
- Cupcakes: portion about 59 g into each of 24 lined wells and begin checking at 18 minutes.
- Raspberry layer: spread a thin layer of jam inside a buttercream dam, then refrigerate the finished cake.
- Simpler finish: make half the buttercream for a sheet cake or naked-sided layer cake.
Do not halve eggs by eye, swap Dutch cocoa casually, slash sugar dramatically, or double the batch into deeper pans. Scale weights and add pans rather than depth.
Bottom line
Weigh the ingredients, use natural cocoa, expect thin batter, divide about 706 g into each 9-inch pan, and begin checking at 28 minutes with several cues. Cool fully, frost, then refrigerate within the dairy-safe window.
For another cocoa-heavy one-bowl bake, make the fudgy brownies. For the same gram-first style in a different format, try the chocolate chip cookies or browse cakes and cupcakes.